How To Add A Widget? #
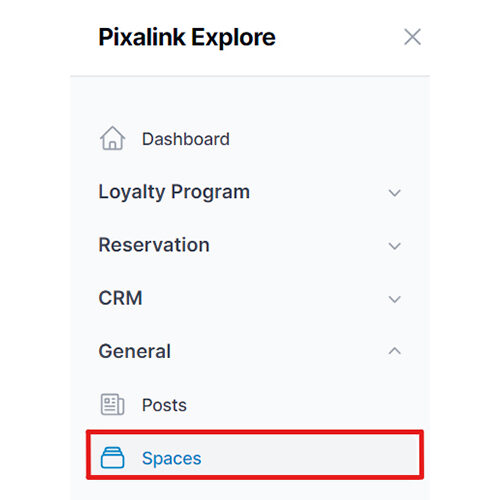
Step 1: Go to the Spaces Index Page #
From your Dashboard, click on “Spaces” to view a list of your active spaces. This section allows you to manage settings and configurations for each space, including adding widgets.
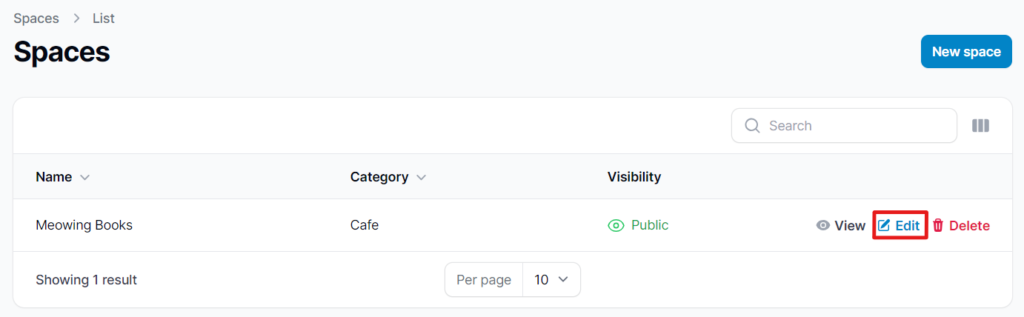
Step 2: Click the “Edit” Button #
From the list of your created Spaces, locate the space you want to update and click “Edit.” This will open the settings page for that specific space.
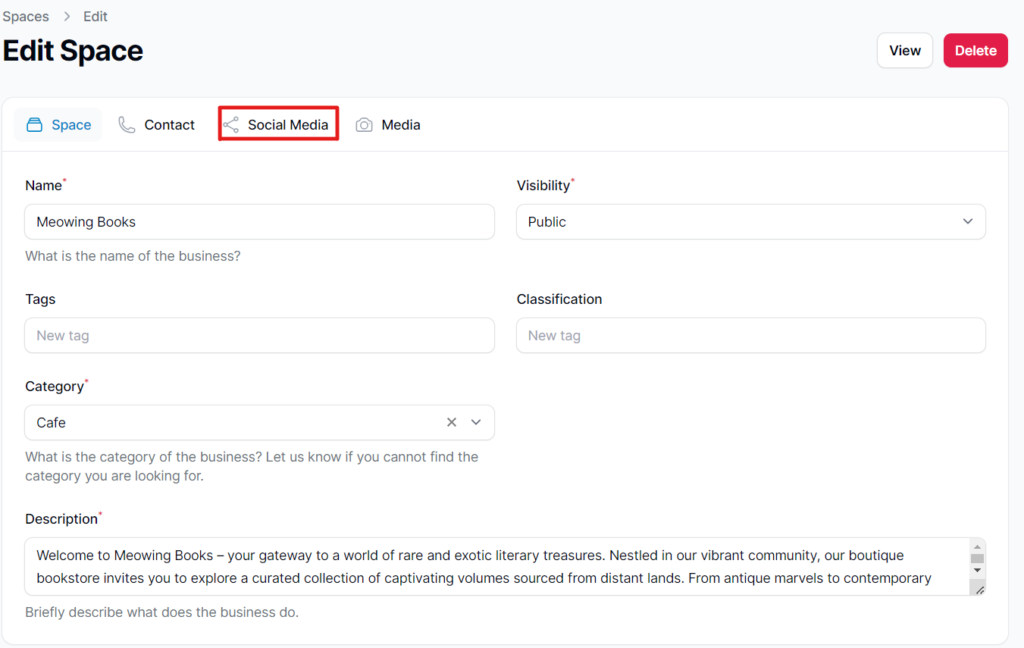
Step 3: Click on “Social Media” #
Within the space settings, navigate to the “Social Media” tab. This is where you can manage widget-related features and integrations.
Step 4: Click on “Add Widget” #
Under the Social Media section, click “Add Widget” to begin creating a new widget for the selected space. This will open the widget configuration form.

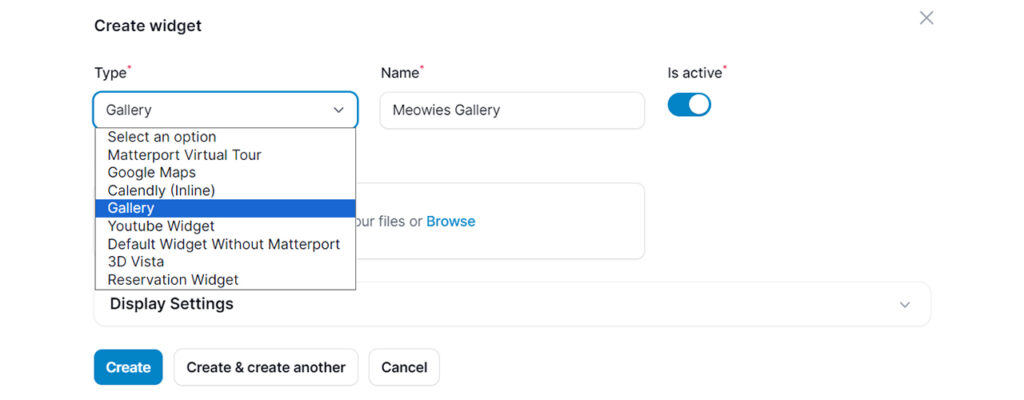
Step 5: Customize the Widget #
Select the widget type and enter a name for the widget. You can further personalize it using the Display Settings to match your branding or website layout.
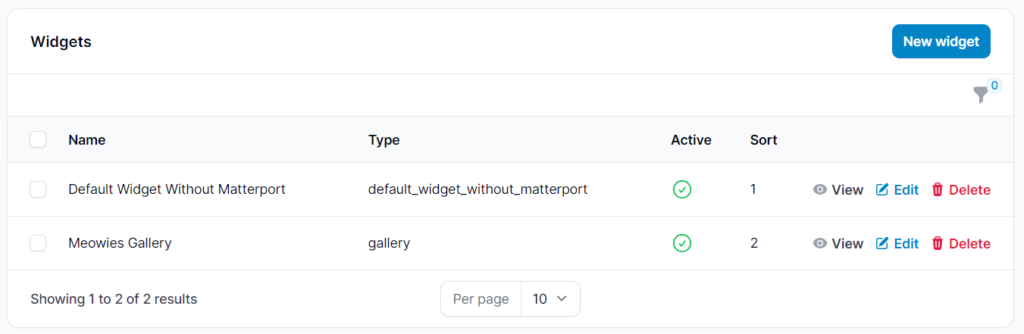
Once all details are set, click “Create” to save and activate the widget.