1.0 What Is A Space? #
A Space represents your restaurant, office, or any physical location you want to present to customers. It serves as a digital showcase, offering a visual and descriptive overview of the environment, services, and customer experience.
This feature helps businesses highlight the unique characteristics of each location to better engage their audience.
Note: To create a separate space for additional branches, please contact Pixalink Support for assistance.
2.0 Guide To Creating A Space #
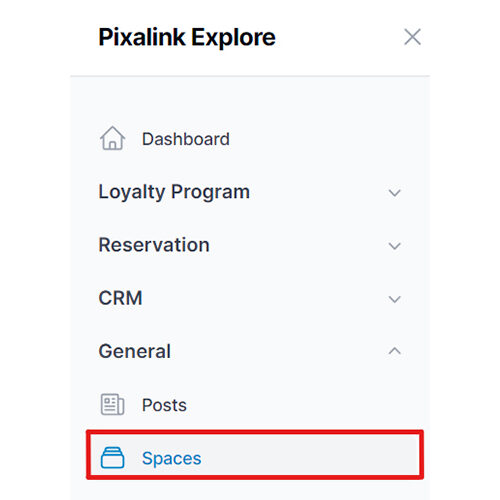
Step 1: From the Dashboard, click on “Spaces” to begin managing or creating your digital space. #
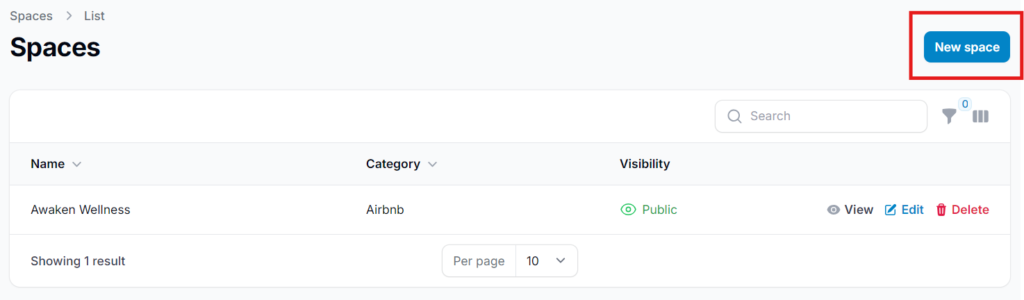
Step 2: Click “New Space” #
Click the “New Space” button to begin creating a new digital space for your business location.
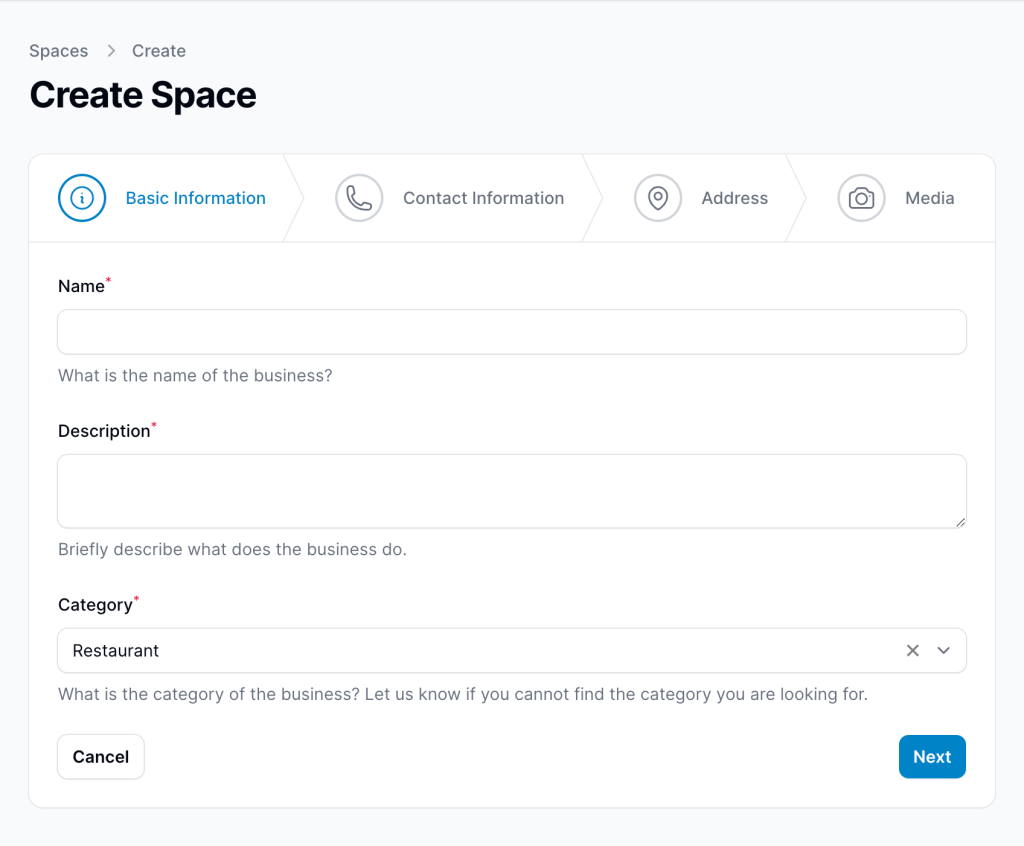
Step 3: Enter Basic Information #
Fill in the required details for your space, such as name, description, and description. Then, select your Category section and click “Next.”
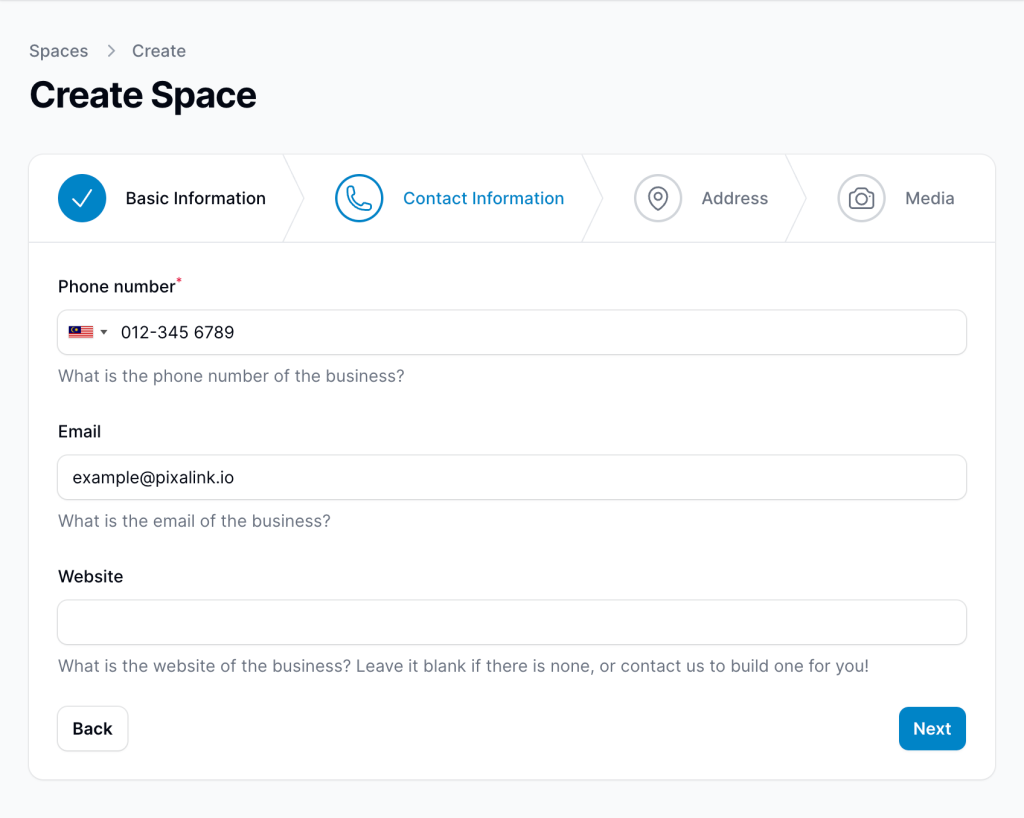
Step 4: Enter Your Contact Information #
Fill in the contact details for this specific space. Some fields may be pre-filled based on your organization’s profile, but you can update them if they differ.
- The “Website” field is optional. Leave it blank if not applicable.
- Pixalink also offers website-building services, feel free to reach out for support.
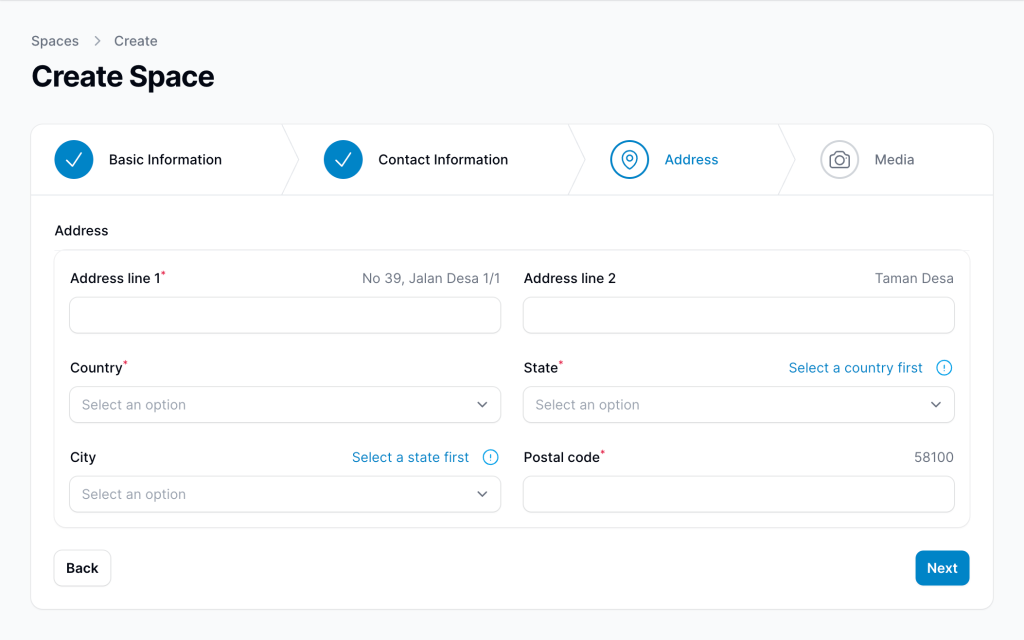
Step 5: Enter the Address Of The Space #
Provide the complete physical address of the space so customers can easily locate it. This helps ensure accuracy in maps, customer directions, and location-based services.
Step 6: Upload Images for the Space #
Add high-quality images that represent your space, such as interior photos or storefront visuals. Once you’re done, click “Create” to finalize and publish your new space.
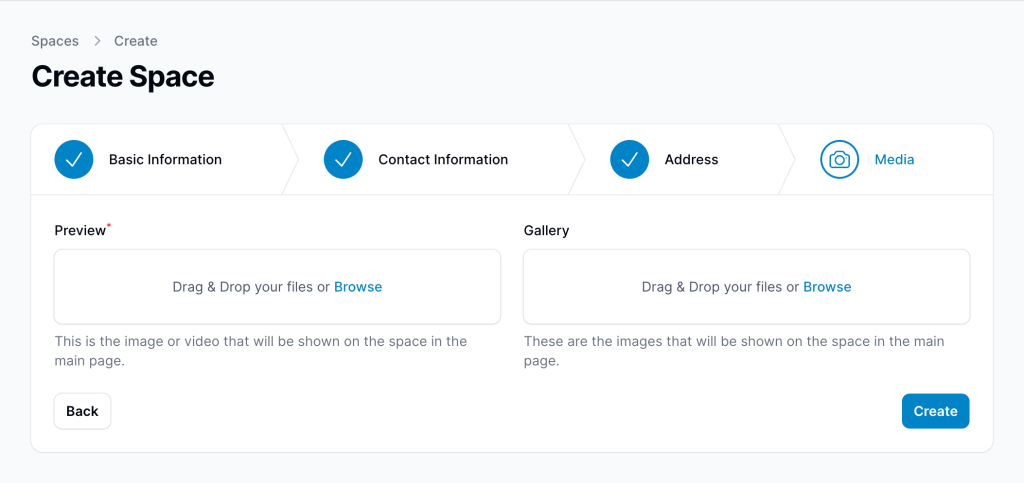
The chart below displays the corresponding image.
 | |
| Above is a sample Preview Photo for reference. | The image on the right is an example of a Gallery Picture. |
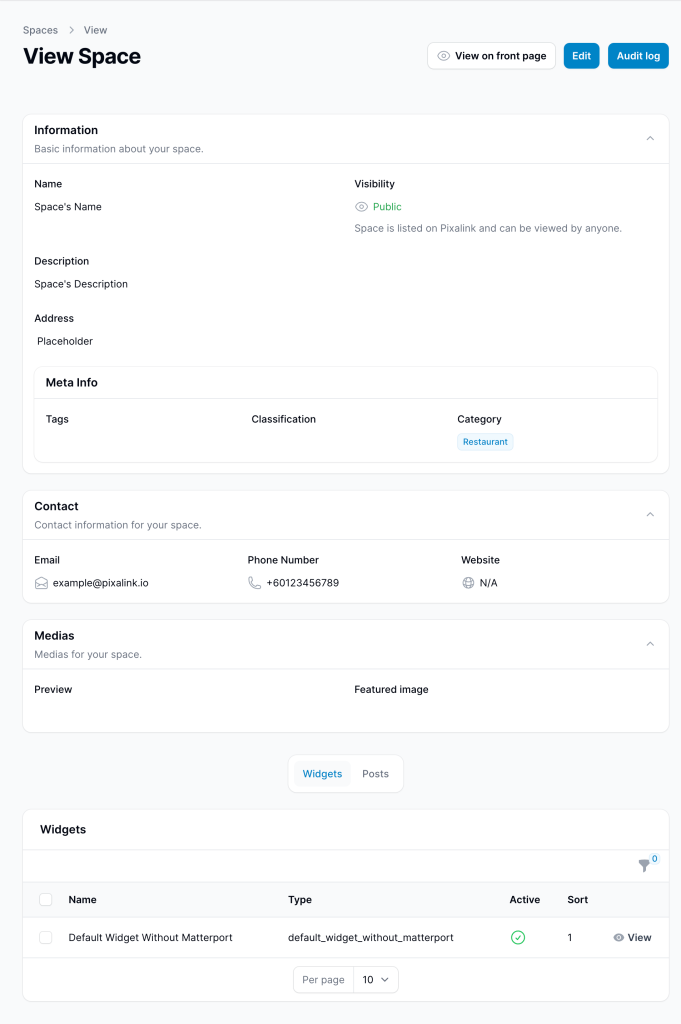
Done! Your spaces has been successfully created. #
You can view it by clicking the “View on Front Page” button at the top of the page.