1.0 What is a Birthday Campaign? #
A Birthday Campaign is a marketing strategy that celebrates your customer’s special day with personalized messages, exclusive discounts, or special rewards. It’s designed to make customers feel valued, strengthen brand loyalty, and encourage repeat purchases.
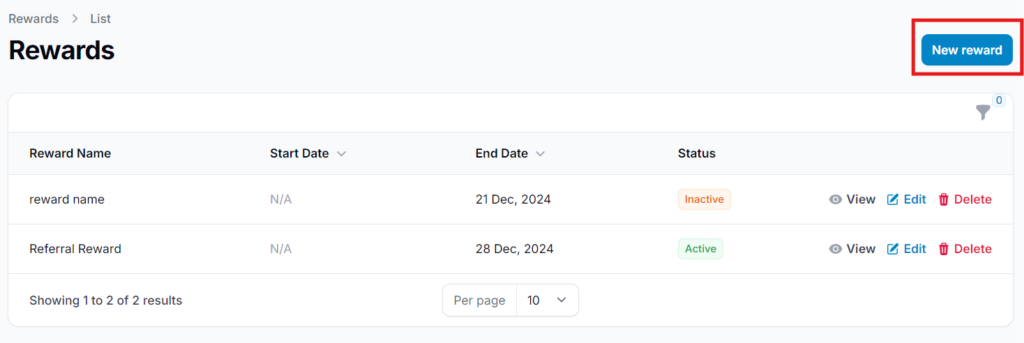
Step 1: Create Rewards for the Campaign #
Start by setting up the birthday reward that customers will receive.
- Click “New Reward” in the Rewards section.
- Fill in the necessary details such as reward name, type, and value.
View the How to Create Rewards tutorial for step-by-step guidance.
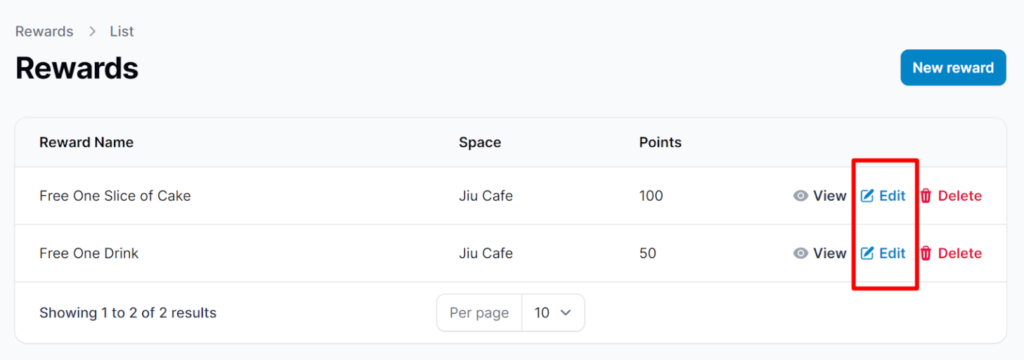
2.0 Edit Reward #
To make changes to an existing reward, go to the Rewards section, locate the reward you want to update, and click “Edit” to modify its details.
Step 2: Enable Auto-Assign and Distribution #
In the Reward Automation settings, activate the following options:
- Auto-Assign to Birthday Customers
- Auto-Assign on the Day of Registration
Then, in the Configuration section, ensure the Distribution setting is enabled so customers can redeem the reward.


Step 3: Get the Reward Link #
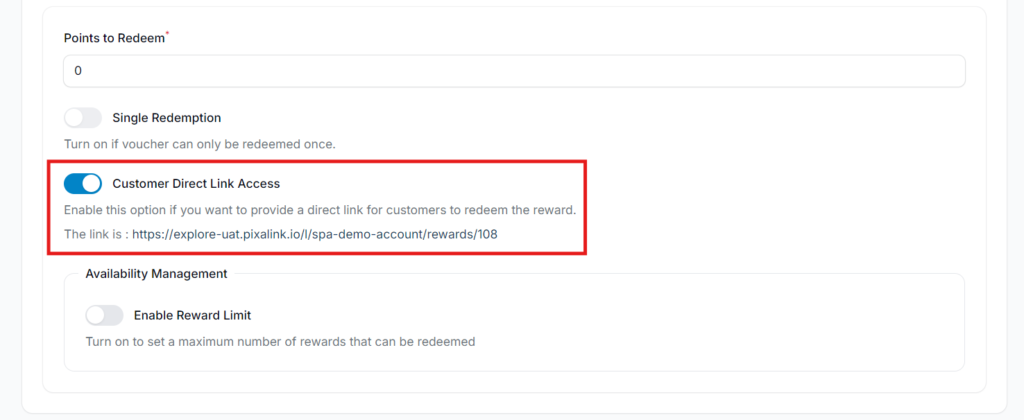
2.1 Direct Link Access (in Reward Configuration) #
- Direct Link Access automatically redirects customers to the reward after they log in to your membership.
To enable this:
- Copy the generated link to include it in your campaign message later.
- Go to the reward’s Configuration settings.
- Turn on the “Customer Direct Link” option.
3.0 Limit Reward Access #
To make the reward accessible only to customers with the direct link, go to the reward’s Configuration settings and disable the “Display in Customer Portal (Marketplace)” option. This ensures it won’t appear publicly in the customer portal.

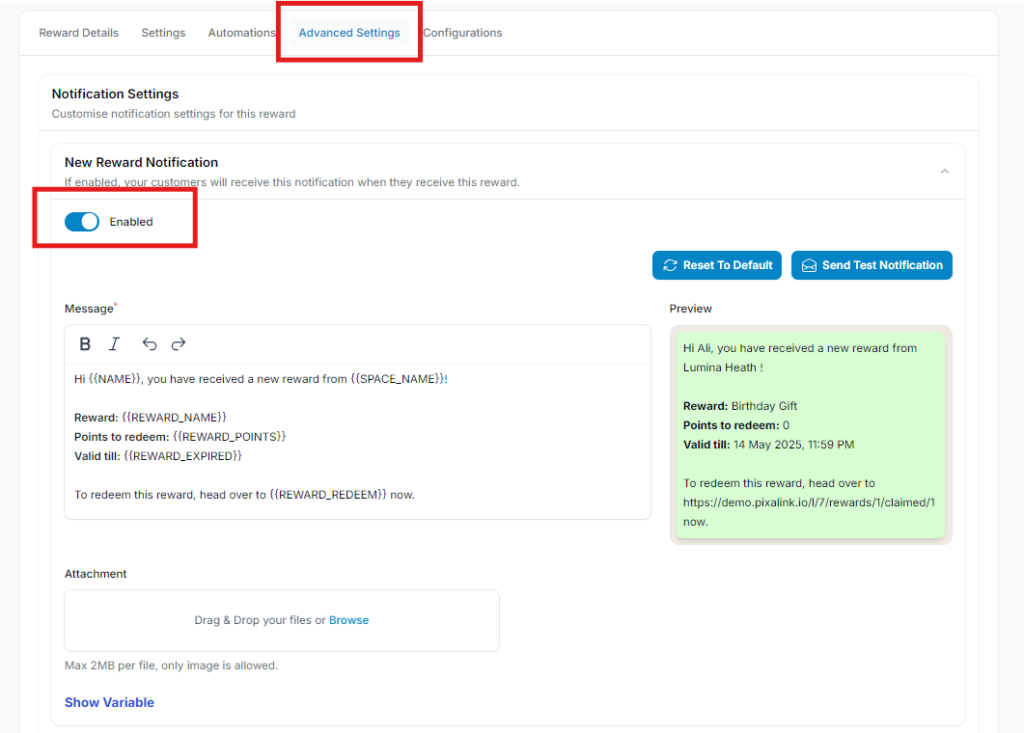
Step 4: Enable Notification Settings #
To send birthday notifications in advance, go to Advanced Settings and enable the notification option. The system will automatically notify customers at the beginning of their birthday month.
For example: A customer with a birthday on March 25 will receive the notification on March 1.
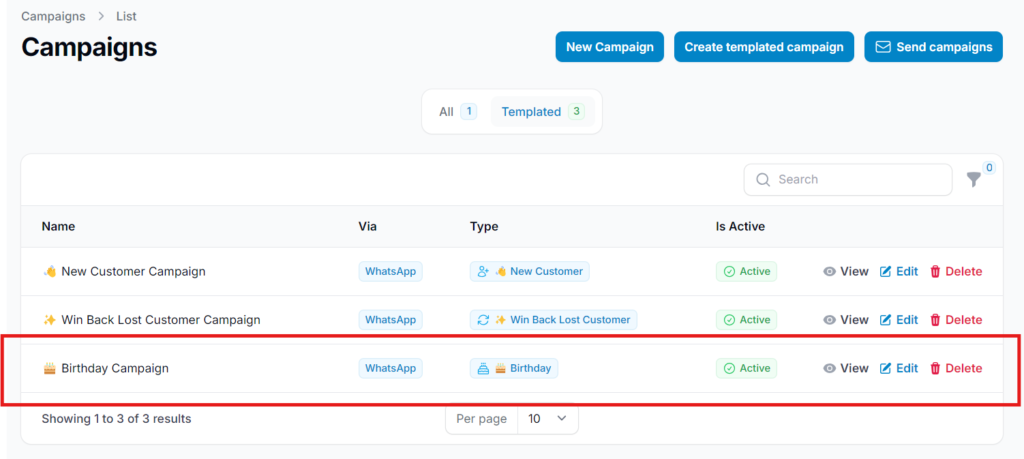
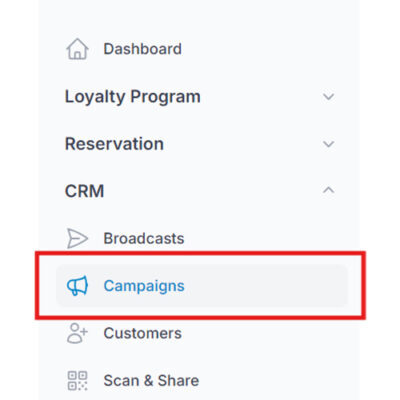
Step 5: Go to “Campaigns” from the Dashboard #
Once you’ve completed the reward setup and configurations, navigate to the Campaigns section from the dashboard to begin creating your Birthday Campaign.
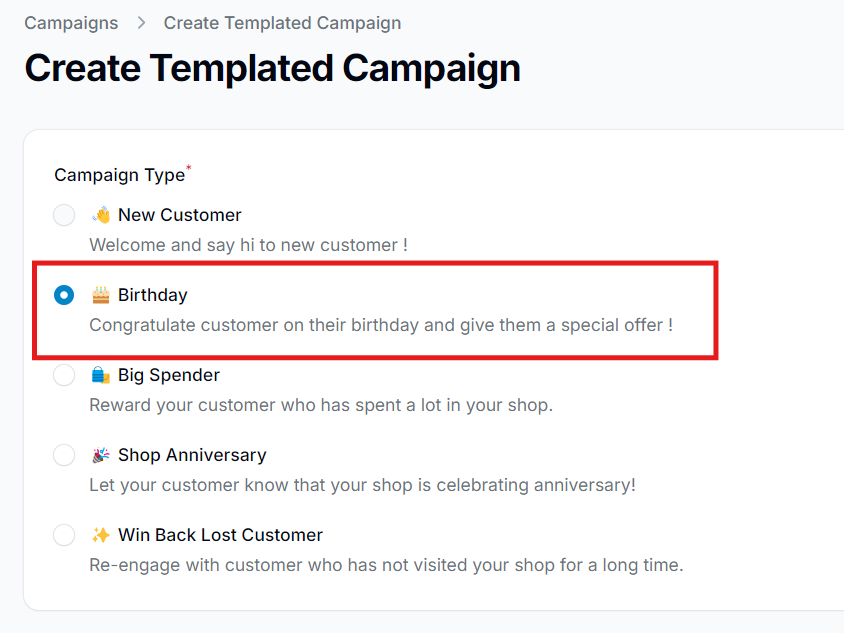
Step 6: Click “Create Templated Campaign” #
Select “Create Templated Campaign” to use a pre-built campaign structure, making it easier and faster to set up your Birthday Campaign.

Step 7: Select the “Birthday” Template #
From the list of available campaign templates, choose “Birthday” to automatically apply settings tailored for birthday-based messages and rewards.
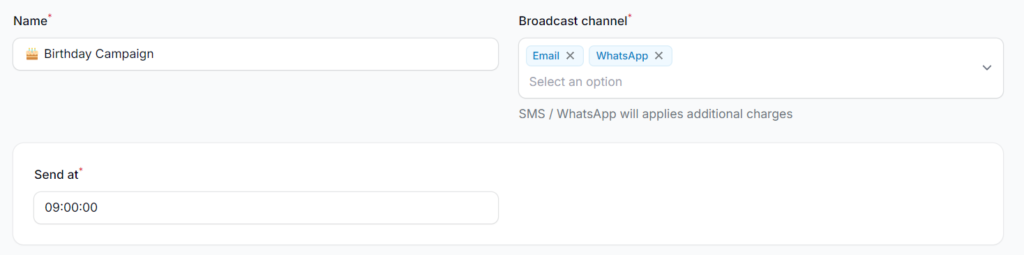
Step 8: Fill In the Campaign Details #
Enter all required information for the campaign, including the campaign name, message content, broadcast channel (Email, SMS, or WhatsApp), and any relevant settings like delivery time or attached rewards.
4.0 Campaign Field Descriptions #
- Name
Enter a clear and descriptive name for your birthday campaign. - Broadcast Channel
Select one or more channels to deliver the message — Email, SMS, or WhatsApp. To remove a channel, click the “X” next to it. - Send At
Set the specific time the campaign message should be delivered to customers on their birthday.

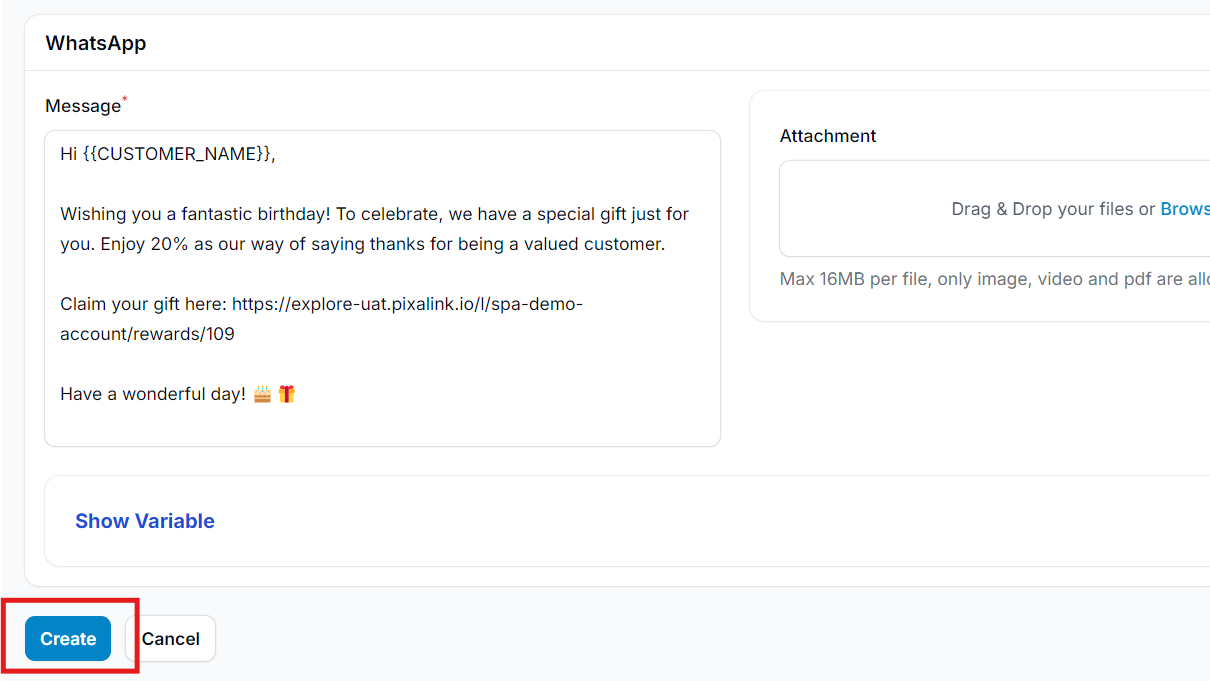
- Message Use or customize the message template provided by Pixalink to craft your birthday message. You can paste the reward link you copied earlier directly into the message content.
- Attachment Add an image, PDF, or short GIF to enhance the message. Including a visual of the reward can make the message more engaging and personal.
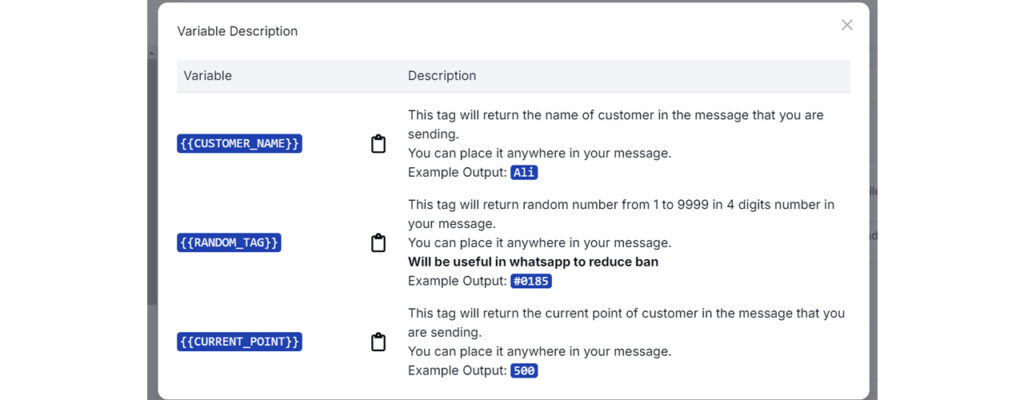
5.0 Show Variables #
The Show Variables feature lets you personalize messages using dynamic placeholders. These placeholders are automatically replaced with customer-specific information when the message is sent.
Available Variables:
{{CUSTOMER_NAME}}
Inserts the customer’s name.
Example: “Happy Birthday, {{CUSTOMER_NAME}}!” → “Happy Birthday, Ali!”{{RANDOM_TAG}}
Generates a random 4-digit number (0001–9999).
Example Output: “#0185“
Purpose: Helps vary message content to reduce the risk of message filtering or bans on platforms like WhatsApp.{{CURRENT_POINT}}
Displays the customer’s current loyalty points.
Example: “You have {{CURRENT_POINT}} points!” → “You have 500 points!”
Use these variables to make your campaigns more personalized and effective.
Step 9: Click “Create” #
After entering all the necessary details, click “Create” to save and activate your Birthday Campaign.
Step 10: Setup Complete #
Your Birthday Campaign is now active and will automatically send on each customer’s birthday. No manual broadcasting is required as long as the templated campaign remains enabled.
Note:
- Templated campaigns automatically generate and send broadcasts.
- Custom campaigns require manual broadcast creation and sending.