Customer tiers (also called loyalty tiers) let you reward your most engaged customers with special benefits. As customers earn points, they automatically move up through different tiers (like Bronze → Silver → Gold), unlocking better rewards at each level.
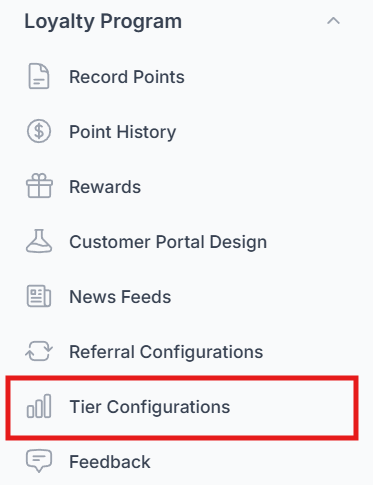
Step 1: Locate Tier Configurations in the Sidebar #
1. Look for “Tier Configurations” in your sidebar menu
2. Click on “New Tier Configurations”
Step 2: Create Tiering #
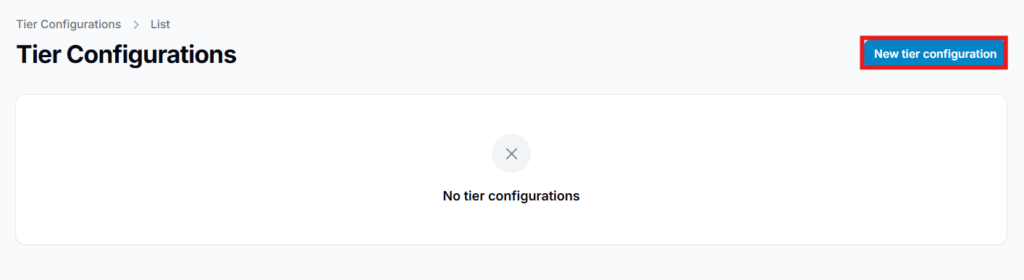
1. On the Tier Configuration page, click the “New tier configuration” button
2. A template will appear with default tier settings
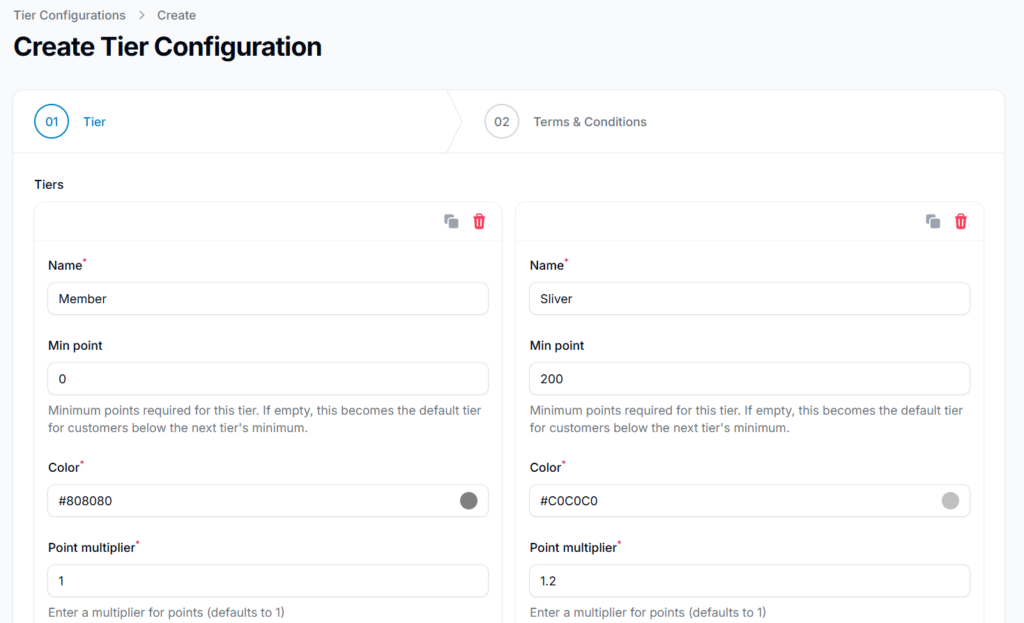
Step 3: Configure Tierings #
Each tier can be configured to offer exclusive benefits and rewards to customers.
Merchants can customize tiers to make them unique and valuable.
Examples of Tier Benefits #
- Point Multipliers
Customers in a certain tier can earn points faster.
Example:- Silver Tier → Points multiplier x1.2
- Exclusive Rewards
Certain rewards may be restricted to specific tiers only. Example:- A reward voucher that is only available to Silver Tier members.
By configuring different benefits, merchants can encourage customers to reach and maintain higher tiers.
3a Components in Tier Configuration: #
| Component | What It Does | Example |
| Name | The tier display name | Bronze, Silver, Gold, Platinum |
| Min. Points | Points needed to reach this tier | Bronze: 0 Silver: 100 Gold: 500 |
| Color | Visual identifier for the tier | Bronze: #CD7F32, Gold: #FFD700 |
| Point Multiplier | Bonus points earned per purchase | 1x (standard), 1.5x (50% bonus), 2x (double points) |
| Perks | Benefits description shown to customers | “Free shipping on all orders” |
| Automations | Rewards automatically sent when tier is reached | New Tiers Level Voucher Special Discount Vouchers |
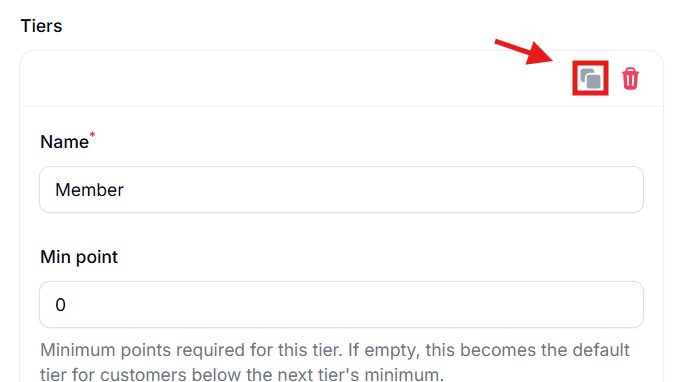
3b Adding New Tiers #
To add new tiers, you can either locate and click “Add to tiers” at the bottom of the configuration or locate the “Clone” icon on the top of each Tier to duplicate the existing tier.
3c Adding New Perks #
Perks are privileges associated with membership tiers. They may include services or complimentary benefits, but not vouchers.
1. Scroll to the tier you want to edit
2. Click “Add to perks”
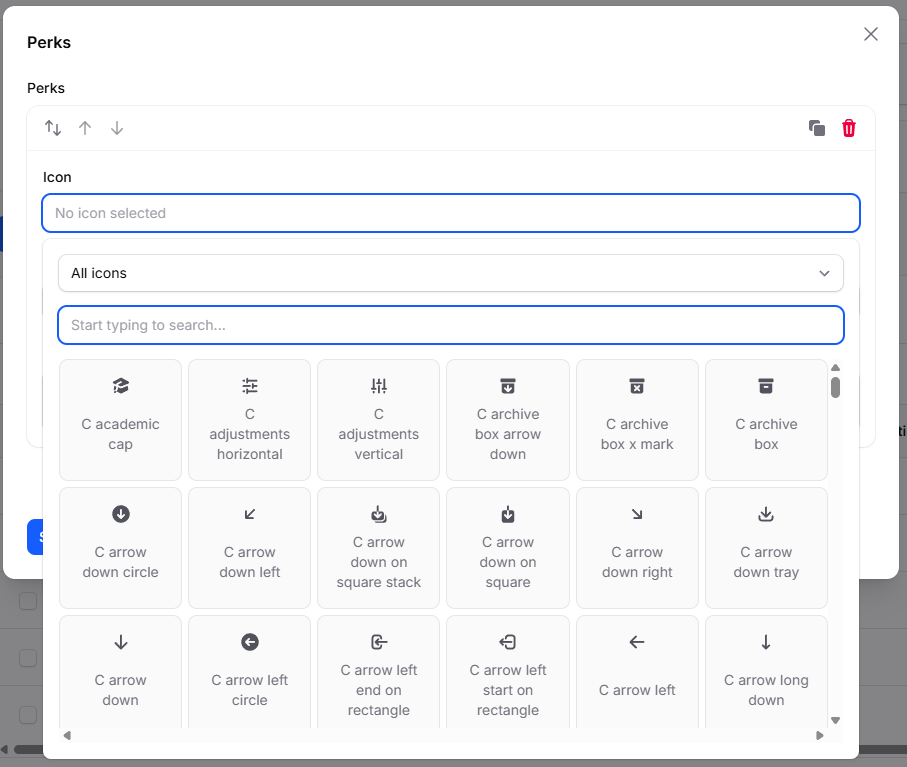
You may search your desired icon code from Heroicons
3. Write a clear, customer-friendly description
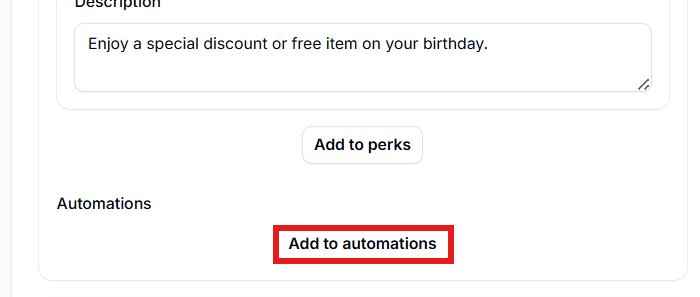
3d Add Vouchers Automation to the Tiers via [ Add to automations ] #
Automation is used to insert the voucher that a customer will automatically receive when they progress to a new membership tier.
To add an voucher automation, locate and click the “Add to automations” button at the bottom of the tier configuration.
You can select an existing reward in your Rewards section from the drop-down option box and specify the quantity of the reward to gift to users.
Go to How to Create Reward in Pixalink for a detailed guide on creating a reward voucher in Pixalink.
Note: To allow the voucher to be added to the tiering voucher automation, the reward must be set to 0 points and must not have any default voucher automation configured under the “Automation” section in the reward settings.
To allow 2 or more rewards to be assigned automatically to users, simply create another automation and select another reward.
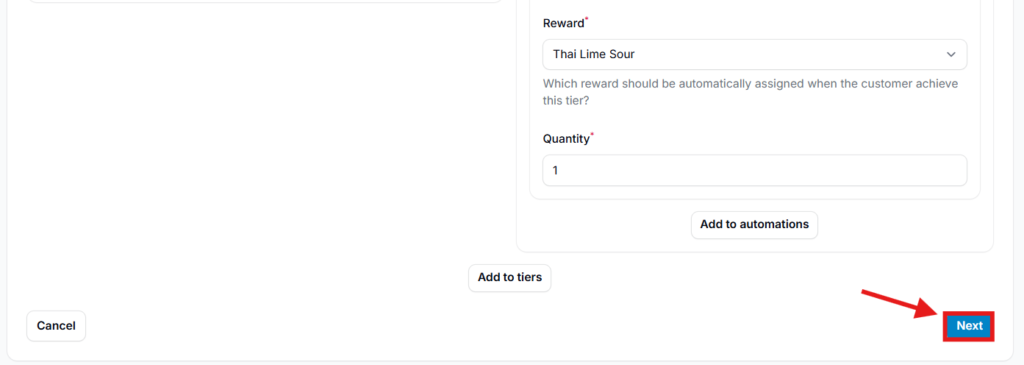
Once completed, click NEXT
Step 4: Create Terms & Conditions #
The final part would be creating the Terms & Conditions for your users. Describe and list what are the terms & conditions of using the tierings to your users here.
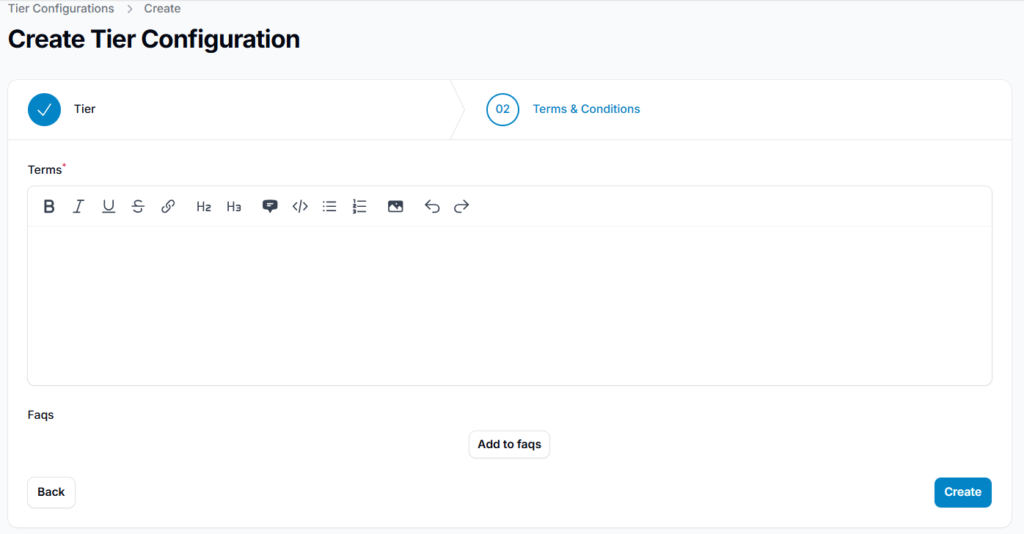
If there are any common questions regarding tierings, you can click on the “Add to faqs” and list the question and its respective answer in the text box.
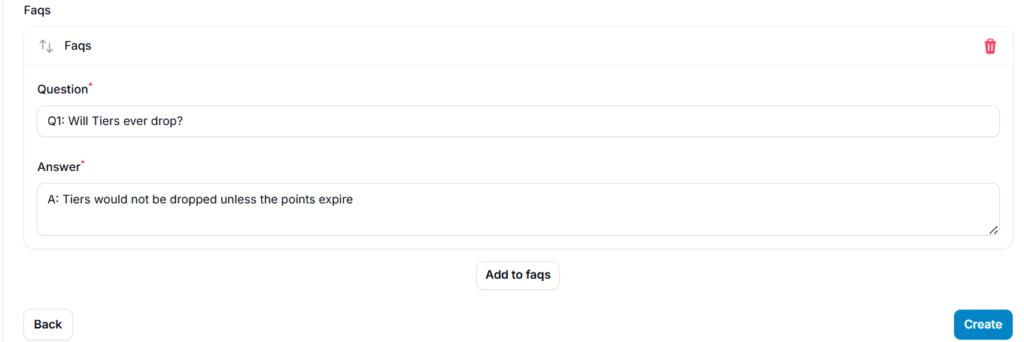
To finalize your tiering configurations, click the blue “Create” button and your tiering is set!
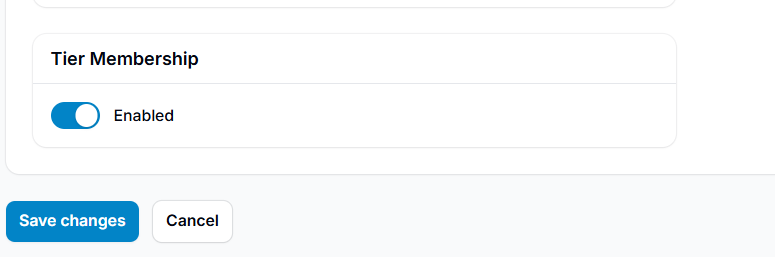
To ensure it appears in the Customer Portal, navigate to the “Customer Portal Design” and locate “Features” and ensure the “Tier Membership” setting is enabled.
How Tiering Works ? #
The tiering system in Pixalink rewards customers based on the total number of points they have accumulated from transactions. As customers continue to transact and earn points, they may unlock higher membership tiers that provide additional benefits and rewards.
1. Earning Points and Tier Progression #
Customers earn points after every transaction. These points are recorded by the system and contribute to a hidden metric called History of Collected Points.
Key Characteristics #
- History of Collected Points
- This is the total number of points a customer has ever earned.
- It is not visible to customers.
- It is used to determine the customer’s tier eligibility.
- Each time a customer completes a transaction:
- Points are added to their Balance of Points.
- The same points are also added to their History of Collected Points.
- As the History of Collected Points increases, customers may reach the required threshold to unlock a new tier.
Once the required threshold is reached, the customer is automatically granted the corresponding tier.
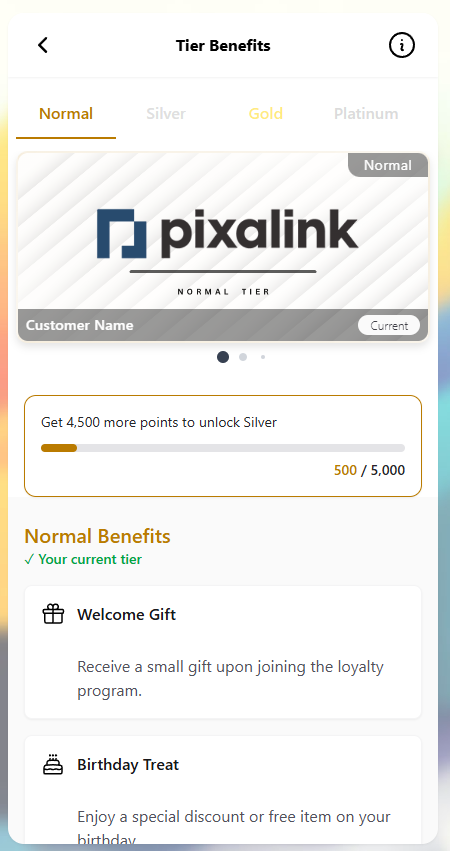
Viewing Tier Progress in the Customer Portal ( From Customer View ) #
Customers can monitor their tier status and progression through the Customer Portal.
Where to Find It #
Customers can view their tier information by navigating to:
Customer Portal → Tiering
3. Will Customers Lose Their Tier? #
By default, customers will not lose their tier once it is achieved.
However, merchants can enable an optional feature called Point Expiry.
Point Expiry Feature #
When enabled:
- Points expire after 1 year.
- When points expire:
- The expired points are deducted from the customer’s History of Collected Points.
- The system then re-evaluates the customer’s tier eligibility.
If the remaining History of Collected Points falls below the required tier threshold:
- The customer may drop to a lower tier.
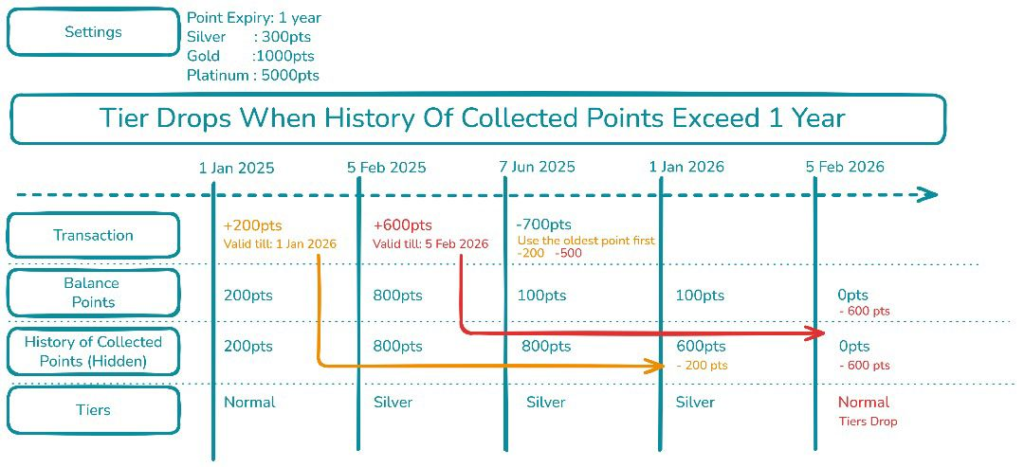
How Tier Expiry Works #
Tier eligibility is determined by the customer’s History of Collected Points earned within the last 12 months.
As points reach their 1-year lifespan, they automatically expire.
When this happens:
- Expired points are removed from the History of Collected Points.
- The system recalculates the customer’s tier eligibility.
- If the updated total falls below the required threshold, the customer may drop to a lower tier.
Example #
- Silver Tier requirement: 500 points
- Customer has accumulated: 800 points
After point expiry:
- 100 points expire
- Remaining history: 250 points
Since the total is now below the Silver threshold, the customer will drop to the lower tier.
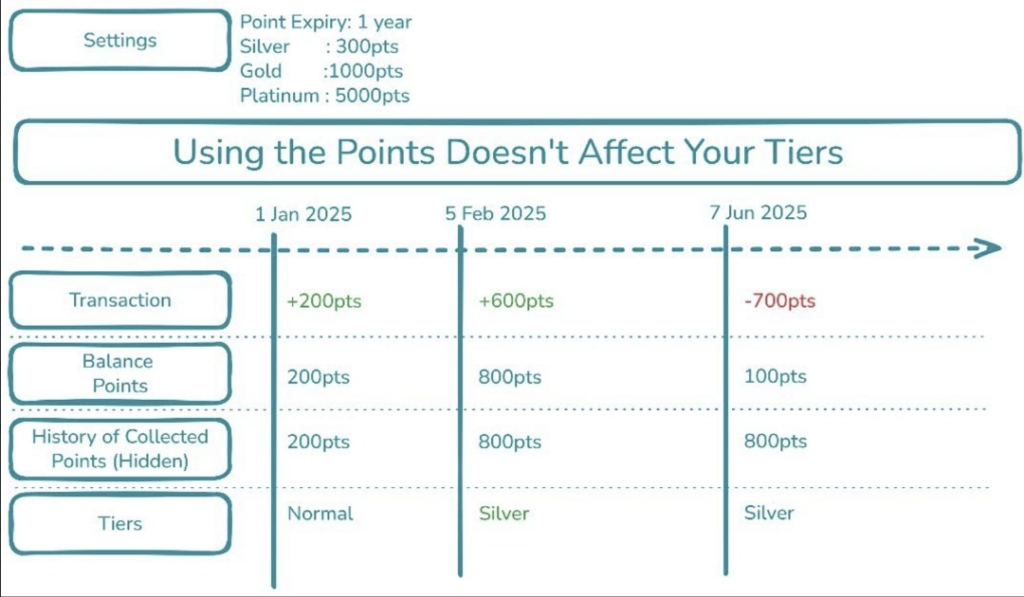
4. Will Redeeming Points Affect My Tier? #
No. Redeeming or spending points will not cause a customer to lose their tier.
This is because tiers are calculated using History of Collected Points, not the current Balance of Points.
Example #
- Minimum points required for Silver Tier: 500 points
- Customer has accumulated: 520 points
Customer redeems:
- 100 points for a reward voucher
After redemption:
- Balance of Points ( Useable Points ): 420 points
- History of Collected Points: 520 points
Since the History of Collected Points remains unchanged, the customer will still remain in the Silver Tier.