1.0 How to add rewards? #
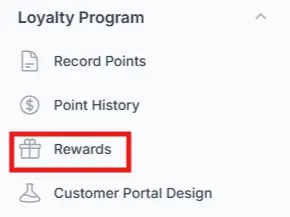
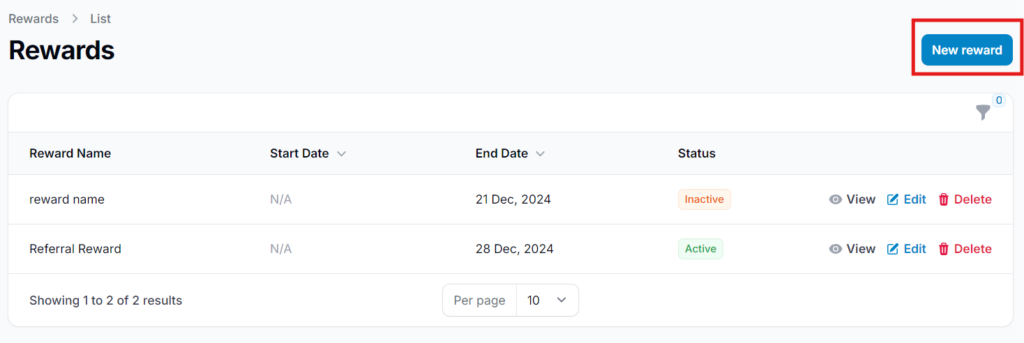
Step 1: Once you’re logged into your Merchant Backend, look for the “Rewards” tab on the sidebar and click it to get started. #
Step 2: Click the “New reward” button at the top right to start creating a reward.
#
Step 3: Enable “Active” and Complete the Reward Details. #
Space is your business location, where customers can check in and earn rewards.
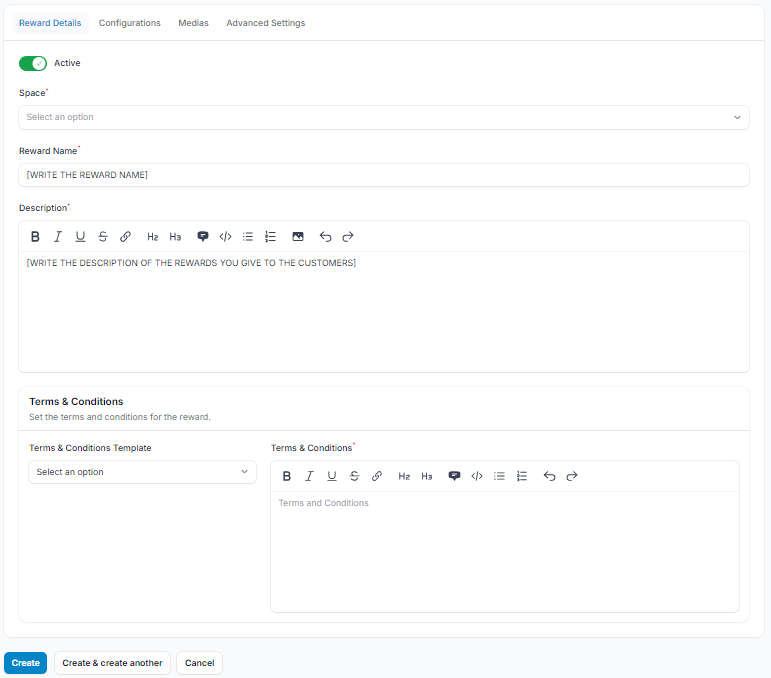
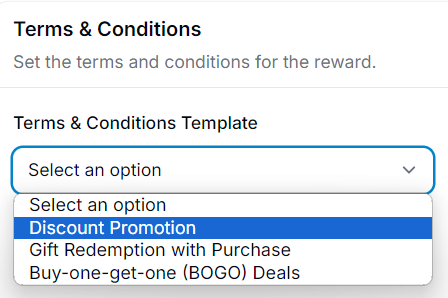
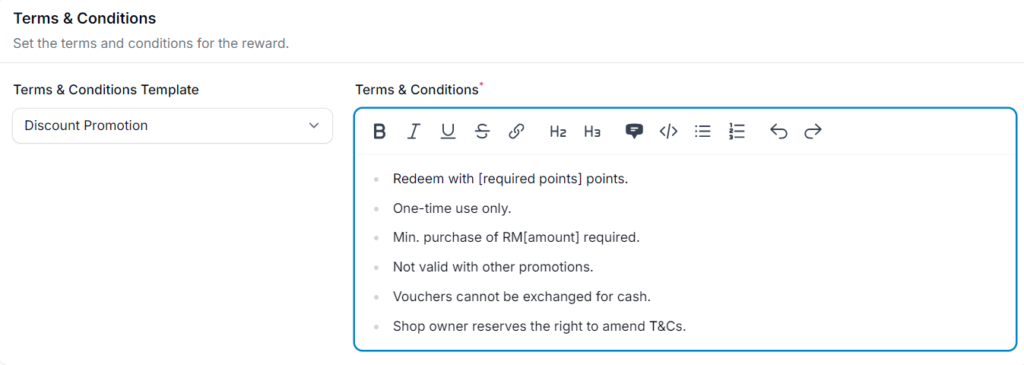
- Pixalink provides a ready-made Terms & Conditions template for your rewards.
- Simply choose the version that best matches your reward setup or customize it to suit your business needs
Step 4: Finalize Your Reward #
Press “Create” to save and activate your reward. #
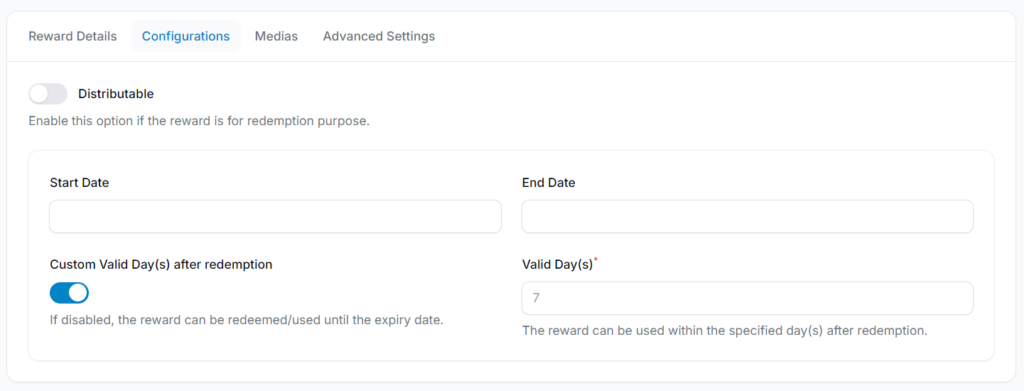
Configurations: #
To set how long the reward is valid:
- Go to the “Reward Settings” section during setup.
- Look for the “Expiration Date” or “Valid Until” field.
- Choose a specific end date, or select a duration (e.g., 30 days from claim).
- Make sure to double-check the date to avoid accidental early expiry.
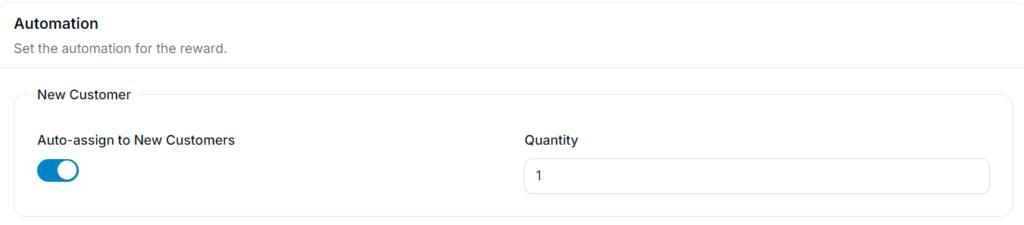
2.0 Can rewards be automatically distributed to new customers who join the loyalty program? #
Yes, you can. To enable automatic reward distribution for new customers, please follow these steps:
- Enable the “Distribution” feature within the reward settings.
- Enable “Auto-assign to New Customers.”
- Enter the quantity of the reward to be assigned.
- Click “Save Changes” or “Create” if setting up a new reward.
Once configured, newly registered customers will automatically receive the reward and can use it immediately after signing up.

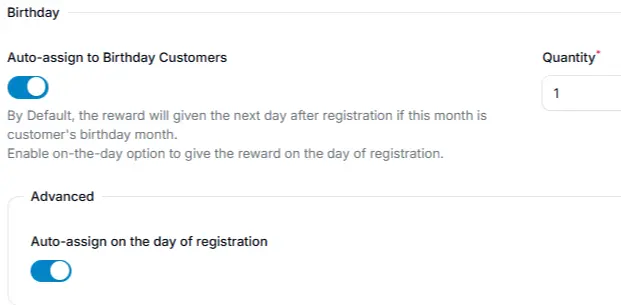
3.0 What if the rewards are specifically for birthdays? #
If the reward is only for birthdays, you can auto-assign it to customers on their birthday
- Create the reward in the system.
- Go to the “Configurations” tab.
- Enable the “Distribution” feature.
- Disable the “Redeem in Customer Portal” setting (if the reward should not be manually claimed).
- Enable the “Auto-assign to Birthday Customers” option.
- Enter the reward quantity to be issued.
- Click “Save Changes” or “Create.”
- The system will automatically distribute the reward on the customer’s birthday, based on the date of birth stored in their profile.
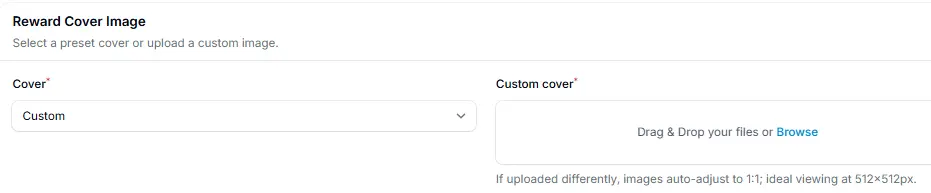
4.0 Cover Image #
4.1 How To Change The Reward’s Cover Image #
- Go to Reward Details > Cover (Custom).
- Upload your image. (Recommended size: 512 × 512 px)
- Click Save Changes or Create, depending on your context.
Alternatively, if you prefer not to upload your own image, Pixalink provides a selection of template cover images you can choose from.
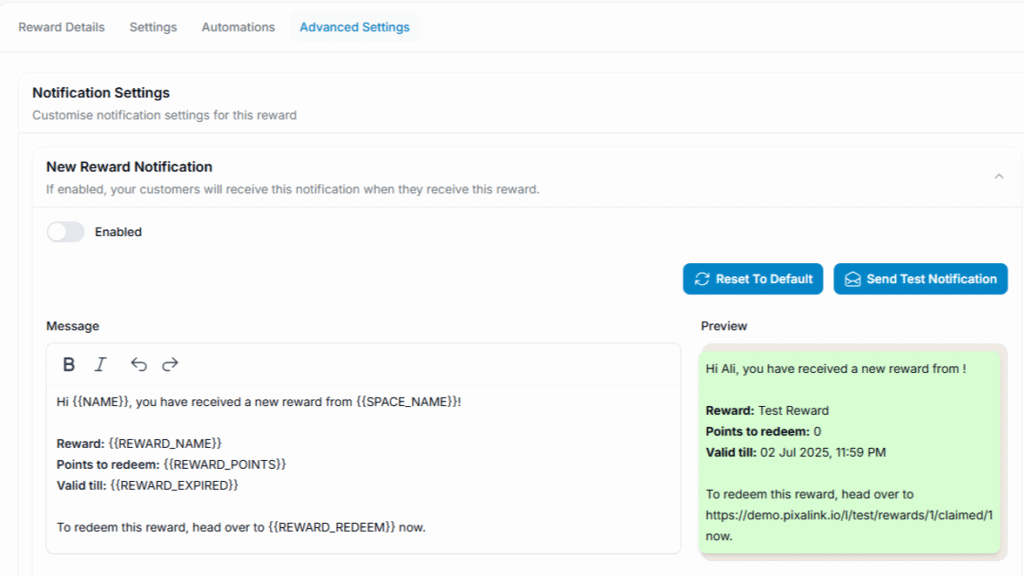
5.0 Advanced Settings: Enable Notification Features #
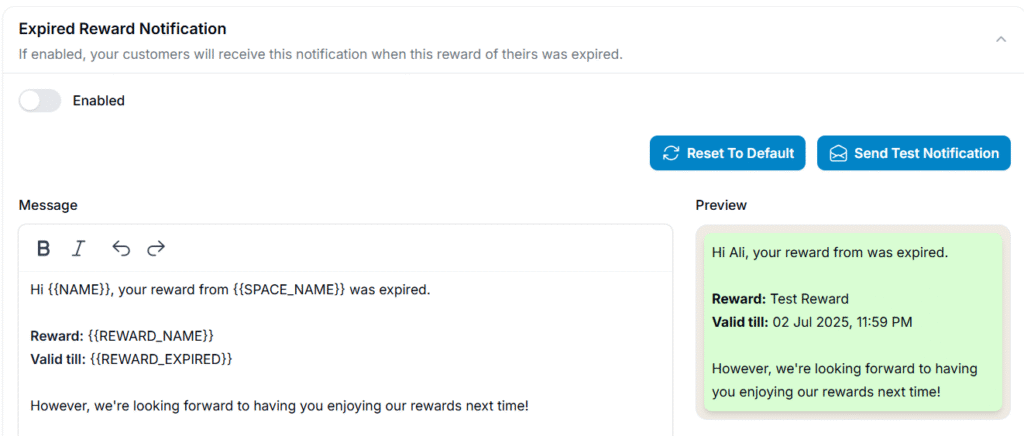
The Advanced Settings section allows you to enable notifications to alert customers when:
- They receive a reward
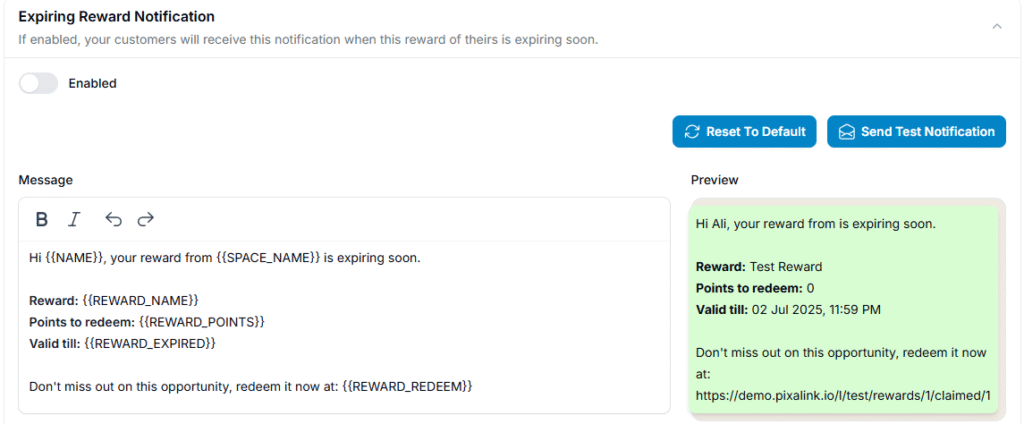
- Their reward is about to expire
You can also customize the notification messages to match your brand’s tone and style, providing a more personalized customer experience.