1.0 What Is A New Customer Campaign? #
A New Customer Campaign is a marketing strategy aimed at welcoming and converting new customers. It typically includes rewards, discounts, or exclusive offers to encourage their first purchase or sign-up. The primary goal is to deliver a positive first impression and build long-term customer loyalty.
Step 1: Create Rewards For The Campaign
#
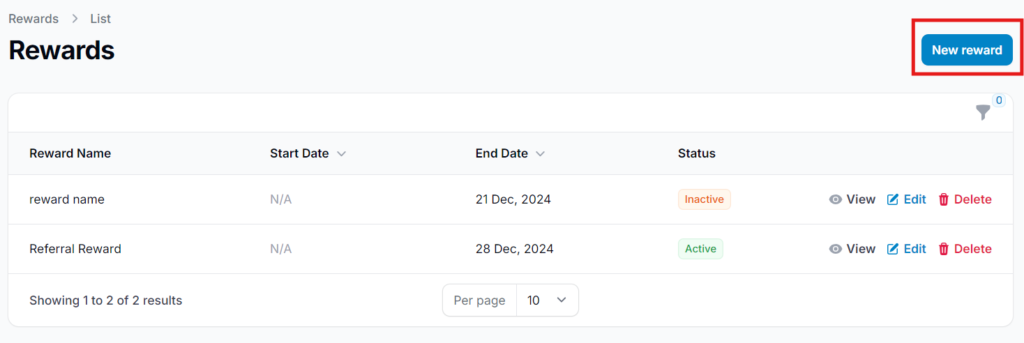
- Click “New Reward” to set up a reward for your campaign. Fill in all the required details, such as the reward name, type, and value.
Refer to the How to Create Rewards tutorial for step-by-step guidance.
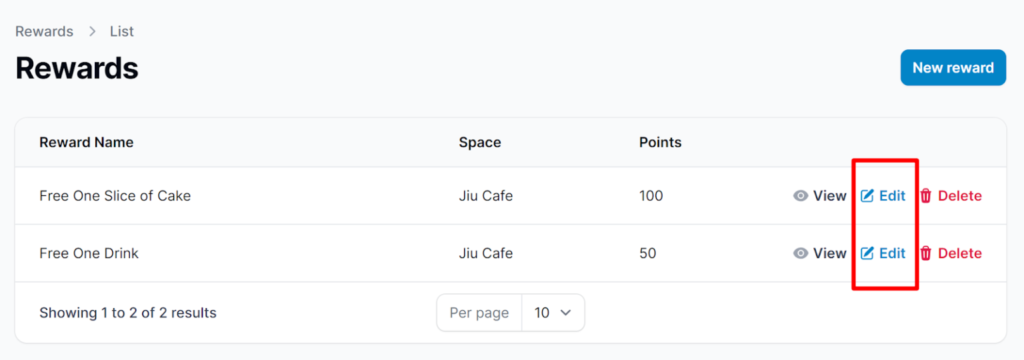
2.0 Edit An Existing Reward #
Go to the Rewards section, locate the reward you want to update, and click “Edit” to modify its details.
Step 2: Enable Distribution #
In the Configuration section, turn on the “Distributable” setting to allow customers to redeem the reward.

Step 3: Get the Reward Link #
There are two ways to share the reward with customers. One of the most common is Direct Link Access.
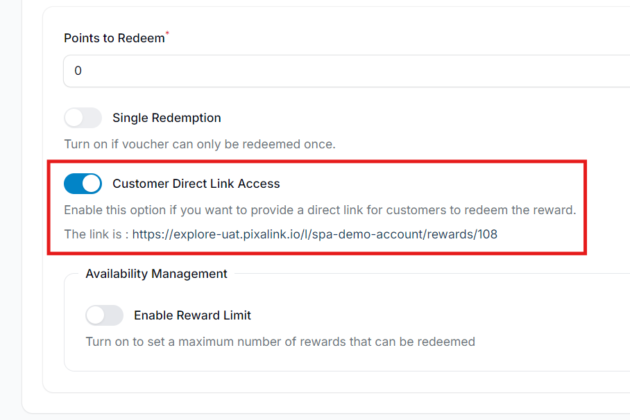
2.1 First Way: Direct Link Access #
- This option automatically redirects customers to the reward after they sign up for your membership.
- To set it up, go to the Configuration section of the reward.
- Enable the “Customer Direct Link” option.
- Copy the generated link, you’ll use it in your campaign message later.
- To make the reward exclusive to customers who receive the link, disable the “Display in Customer Portal (Marketplace)” option in the Configuration settings.
- This ensures the reward won’t be visible or accessible to the general public through the customer portal.

Second Way: Link to Your Membership Portal #
- After signing up, customers will automatically receive the reward but instead of being redirected directly, they’ll first explore your membership page.
- To enable this flow: turn on “Auto Assign to New Customers” in the reward’s automation settings.
- Copy your membership URL directly from the address bar of your membership site.
- Make sure to disable “Display in Customer Portal (Marketplace)” in the reward configuration to keep the reward exclusive.

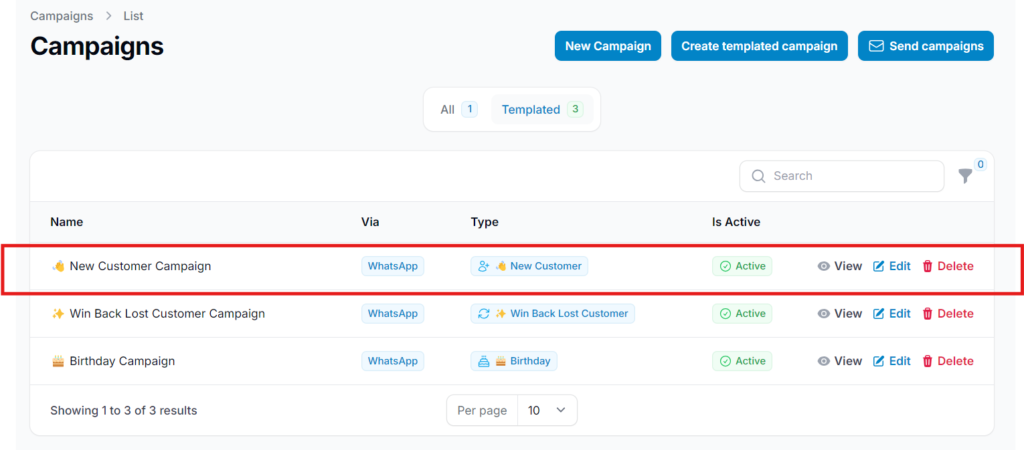
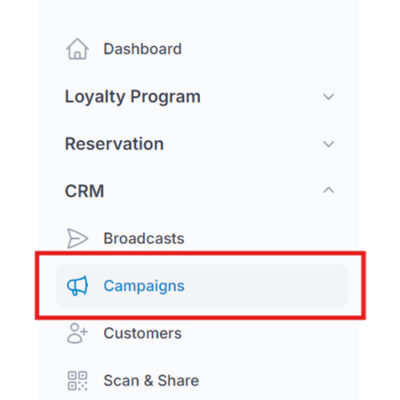
Step 4: Go to the Campaigns Section #
Once your rewards and configurations are complete, navigate to the “Campaigns” section from the dashboard to start creating your new customer campaign.
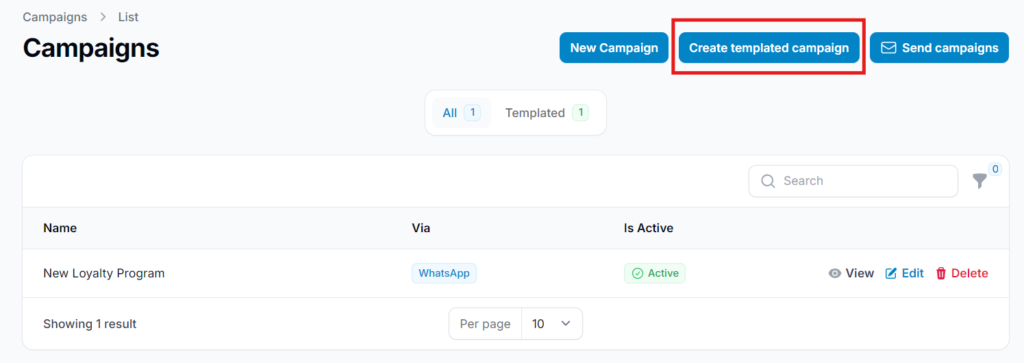
Step 5: Click “Create Templated Campaign” #
Select “Create Templated Campaign” to use a pre-built template and streamline your campaign setup process.
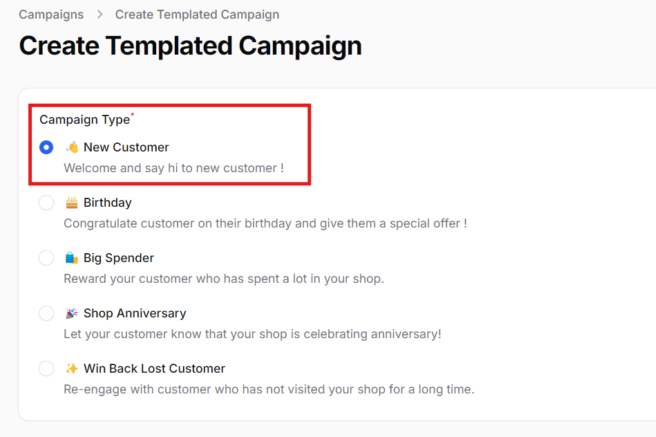
Step 6: Select “New Customers” #
From the list of campaign templates, choose the “New Customers” option to target and engage newly registered users.
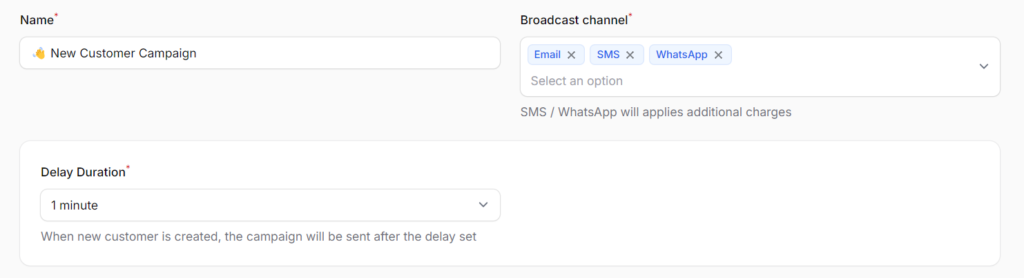
Step 7: Fill In Campaign Details #
Enter the necessary information, including the campaign name, message content, and delivery method (Email, WhatsApp, or both), to complete your campaign setup.
2.6 Campaign Fields Overview #
- Name: Enter a clear and descriptive name for your campaign.
- Broadcast Channel: Choose one or more channels to send the campaign (Email, SMS, or WhatsApp). To remove a channel, click the “X” next to its name.
- Delay Duration: Set the time delay for when new customers will receive the message after signing up for your membership.
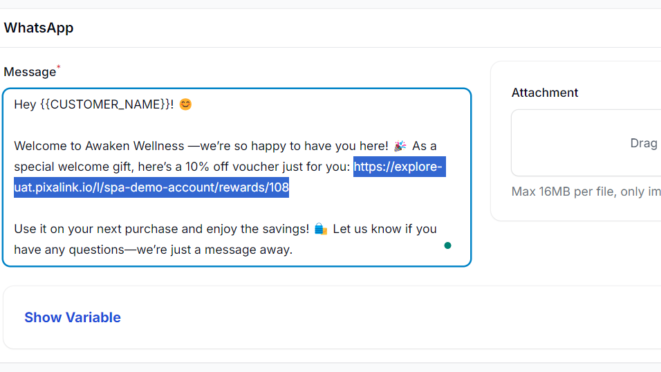
- Message: Use or customize the default welcome message template provided by Pixalink. You can also paste the reward link here to direct new customers to their reward.
- Attachment: Upload an image, PDF, or short GIF to enhance your message. You may also include an image of the reward for better engagement.

2.7 Show Variables #
The Show Variables feature provides dynamic placeholders that personalize each message by automatically inserting customer-specific details. Simply copy and paste the variables into your message content.
- Available Variables:
{{CUSTOMER_NAME}}
Inserts the customer’s name.
Example: If the customer’s name is Ali, the message will display “Ali”.{{RANDOM_TAG}}
Generates a random 4-digit number (0001–9999).
Useful for making each message unique and reducing the risk of WhatsApp bans.
Example Output: #0185{{CURRENT_POINT}}
Displays the customer’s current loyalty points.
Example: If the customer has 500 points, the message will show “500”..
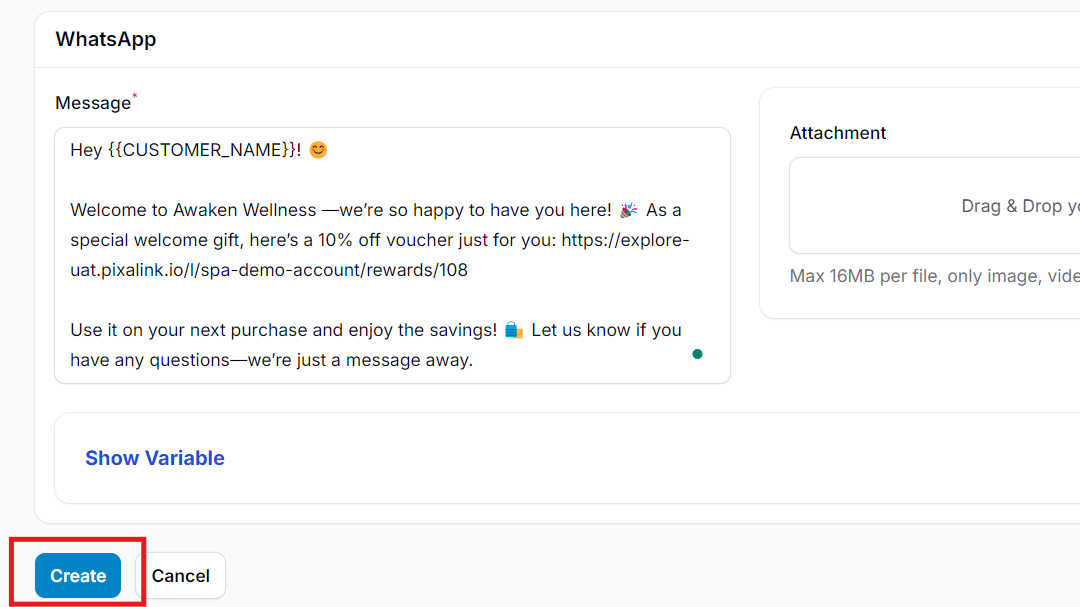
Step 8: Click “Create” #
After completing all campaign details, click “Create” to save and launch your New Customer Campaign.
Step 9: Setup Complete #
Your campaign is now active and will be automatically sent to every new customer. No manual broadcasting is required, as long as the templated campaign remains enabled.
Note:
A Templated Campaign will automatically generate and send a broadcast.
In contrast, a Custom Campaign requires you to manually create and send the broadcast.